Quiltville
Custom Quilting
http://www.quiltville.com
(click here for .pdf file)
Part 1
© Bonnie K Hunter.

http://www.quiltville.com
Old Tobacco Road!
~A Quiltville Mystery Quilt!!~
(Click here for printer-friendly html version)(click here for .pdf file)
Part 1
© Bonnie K Hunter.

It's time to sew! I
hope you had fun digging through your scraps and yardage and fat
quarters that are just dying to be used in this quilt. Can you
feel fall coming? It's Aug 28th as I write this, and I am noticing
already how it is starting to get dark earlier and earlier each
evening. Yep! Fall is on the horizon!
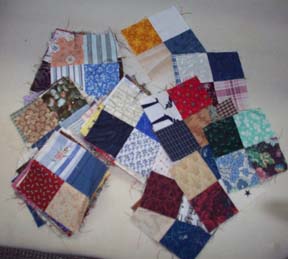
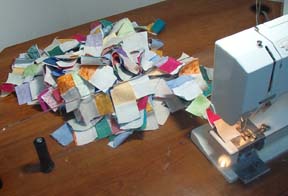
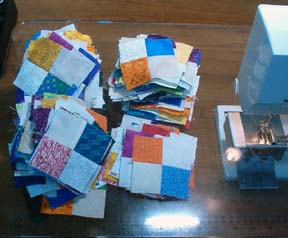
For our first step, we are going to be making scrappy 4 patches! How many, you ask? Now before you faint dead away, I know that many of you have been making 4 patches as leaders/enders with scrap 2" squares while you are sewing on other projects. Many of you probably already have a box of these just waiting to be counted and used. While I am making 4 patches (or any other unit) as leaders/enders, I stop every once in a while to count, and pin them with safety pins into groups of 10. This way it is easy for me to figure out just how many I really do have, without having to start counting at #1 again. Just multiply by 10 quickly to figure out how many you have and how many you need!
So how MANY do you NEED? How about 182 4 patches. Yep. That's right! 182 4 patches that measure 3.5" UNFINISHED...and 3" finished.
Mine are from all combinations of lights and darks, but you can do it more color coordinated if you want. For instance, choose ONE color family for the darks in your 4 patches. You can use one neutral too if you want to keep it simple. All greens would be nice! Or blues, or golds. You just don't want anything that is going to blend into your browns too much when we get to that point.


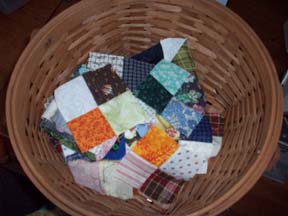
If you don't have a basket of
pre-sewn 4 patches from 2"
squares, never fear. These can be quickly strip pieced from 2" strips.
Just jumble up your strips a lot to get the most variety possible.


It really does go fast, and
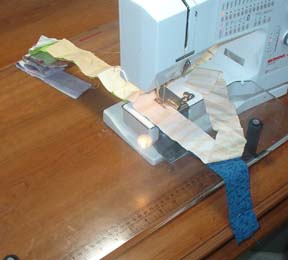
you can do them a batch at a time until you have enough. Match 2"
light strips with 2" dark toned strips with right sides
together. If one strip is shorter than the other, just match
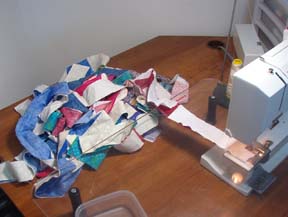
a new strip up to the long one and kept sewing in one continuous chain
until you have about a mile of strips piled behind your machine!
Trim
between the pairs of strips and take them
to the ironing board. Press the seam
allowance towards the darker fabric.


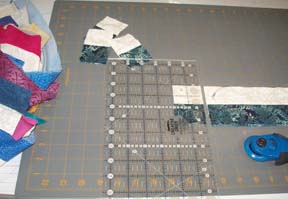
Use your rotory cutter and
ruler to trim the end even and
then subcut into 2" sections. I ended up with a whole bin of
pairs! Match the pairs right sides
together into 4patches and feed them continuously through the
machine. Press them open. Some people swear by 'pinwheeling the seams'
on the back of the 4 patch to get that intersection to lay flat. Being
the relaxed quilter that I am...I just mash those suckers flat with a
hot iron and a heavy hand! *LOL* Do it how ever you wish.


You will also need 8
Half-4patches. Remember making the
"split 4 patch" units in our last mystery, Orange Crush? These
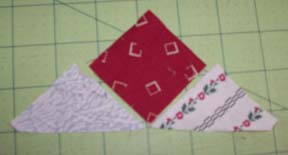
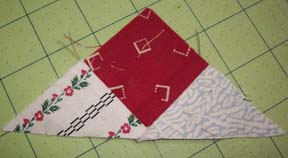
half 4 patches are the pieced top part of the album block unit we made.
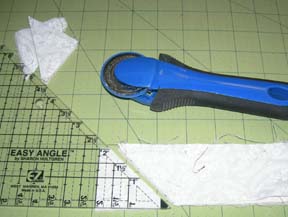
Stack a few 2" strips
together and using the
lines on the ruler, get a clean cut on one end of the strip set so you
have an even end. I like to cut through 4 to 6 layers...any more
than that and things start to shift. Start cutting
triangles using the 2" measurement on the EZ Angle ruler. When cutting,
don't
pick the ruler UP off the mat, just roll it ver along the diagonal cut
you made. You will need 16 "wing" triangles to be matched up with 8 2"
squares. Sew as shown to make 8 half 4patches.


Can you simply cut a 4 patch
in half to do this step?
Yep! But you have to do one better....you need to leave a seam
allowance, so if you cut a 4 patch in half...only part of it will be
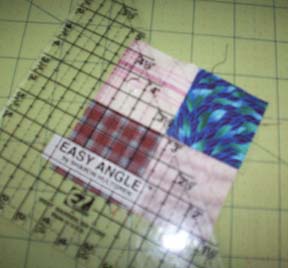
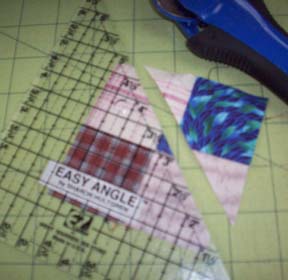
useable and the rest will have to be tossed. Use the 1/4" marking on
the long side of the easy angle, laying it through the center from
corner to corner. See what I mean? That short left over triangle
really has no purpose, and since I keep a box of 2" squares by my
machine for beginning and ending a line of chain piecing with, it was
easy for me to just piece the half patches with no waste. But
it's up to you!
And just so I am covering all the bases: Are you using regular rotary cutting measurements because you don't have an easy angle yet? You can cut (8) 2 7/8" squares and cut them once from corner to corner to get the triangles you need.
And for those of you afraid to put the bias edge on the long side of the triangle...cut 2 squares 3 1/4". Cut them on the diagonal twice with an X. This will put the straight grain on the long outside edge of the triangle. It's up to you. I don't tend to keep 3 3/4" squares on hand, so it would either mean cutting from new yardage, or trimming down pre-cut 3 1/2" squares that I *DO* keep on hand.
So there you have it! 182 4 patches, 8 half 4 patches, and a whole lot of Quiltville philosphy on why I cut things the way I do! :c) This should keep you busy for a while, so while you are working on it, I've got a quilt on the machine due to photography and needs to be to Colorado by tuesday morning! Did I mention it has to be BOUND too? :cD
Happy 4 patching!


